
How to polish concrete floors — that’s probably what you typed in after staring at your dull, dusty floor and thinking, “There has to be an easy way to fix this.” Maybe you want a cleaner look because you’re tired of the gray, flat finish. Or maybe you just want your space to feel brighter without spending a fortune on new flooring.
Whatever brought you here, the good news is that polishing isn’t some secret trade skill that only pros can pull off. With the right tools, a clear plan, and a little elbow grease, you can transform your floor.
So let’s get into it and make your concrete floor look brand new again!
🔔 Heads up! Some links in this post are affiliate links. As an Amazon Associate, we may earn a small commission—at no extra cost to you! 💛
Tools You’ll Need to Polish Concrete Floors
Before you start, gather a few essentials. That keeps the job moving smoothly and prevents you from running back and forth in the middle of the project.
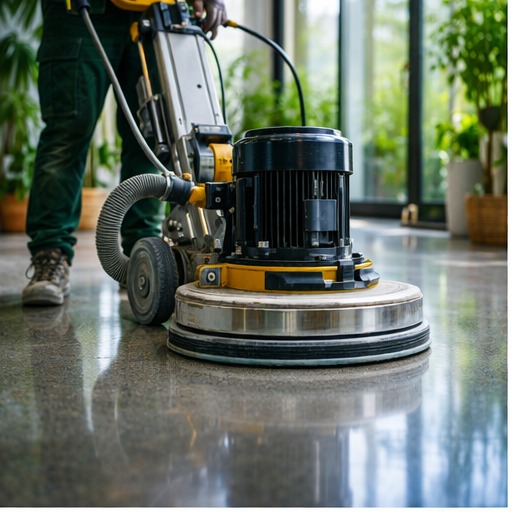
☑Concrete grinder or polisher – The primary tool that does most of the heavy lifting.
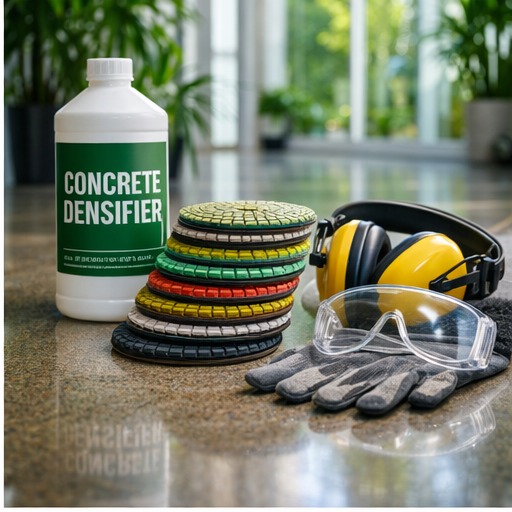
☑Diamond polishing pads in a few different grits. You’ll switch between them as the floor gets smoother.
✔Shop vac or floor vacuum to pick up dust as you go.
✔Cleaning solution and a mop nearby.
☑Densifier (optional) – It’s excellent for strengthening the concrete and boosting the final shine.
☑Concrete sealer or surface guard – To protect the finish and make your new shine last longer
✔Goggles, ear protection, and gloves – A little protection goes a long way.
Ready to gear up? You can grab all these tools on Amazon➡ whenever you’re set to start.
Now that you’ve got your tools ready, it’s time to learn how to polish concrete floors step by step.
How to Polish Concrete Floors – Step-by-Step Guide
To polish a concrete floor, start by prepping the surface. Then do coarse grinding to smooth imperfections. Apply a densifier if desired. Next, work through medium and fine grits. Finish with a high-gloss polish, then clean and seal.
Now, let’s dive into each step in detail.
Step 1️⃣: Prep the Surface
Before you start polishing, it’s crucial to properly prepare your floor. First, sweep and vacuum thoroughly to remove dust, dirt, and loose debris. Next, check for any coatings, paint, or adhesives, and remove them carefully.
Step 2️⃣: Start with Coarse Grinding
Once your floor is clean, begin with a coarse-grit diamond pad➡. This opens the concrete surface and smooths out major imperfections, scratches, or rough spots. Move the grinder evenly across the floor, overlapping each pass.
Take your time at this point. The initial grind sets the foundation for a smooth, professional-looking finish.
Step 3️⃣: Apply Densifier (Optional Step)
After coarse grinding, consider applying a concrete densifier➡. This liquid penetrates the surface, hardens the concrete, and fills tiny pores, which makes the floor stronger. Using a densifier also helps achieve a brighter, more reflective shine in subsequent steps. Allow it to dry completely before moving to the next grits.
Step 4️⃣: Move to Medium and Fine Grits
Next, gradually progress through medium to fine-grit diamond pads. Each step further smooths the surface, removing the scratches left by the previous grit. Transition slowly and overlap passes consistently to ensure uniform polishing. By the time you reach fine grits, the floor should feel smooth to the touch and begin showing a natural shine.
Step 5️⃣: Final Polish
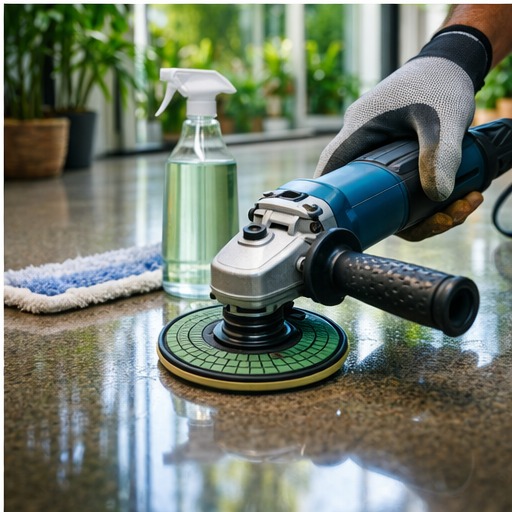
Now it’s time for the final polish. Switch to high-grit pads, often 800 grit or higher, and work methodically across the floor. This step brings out the glossy, mirror-like finish that polished concrete is known for. Make sure to maintain a consistent pace and direction so the shine is even across the entire space.
Step 6️⃣: Clean and Seal
Finally, clean the floor thoroughly with a damp mop to remove all dust and residue. Once dry, apply a surface guard to protect the polished surface. This layer enhances durability, makes cleaning easier, and ensures your floor keeps its shine for years to come.
A Few Tips to Note While Polishing Concrete Floors
Now that you know how to polish concrete floors, it’s time to fine-tune your technique. Keep these tips in mind to make the most of your polishing project:
✅Work Slowly and Let the Machine Do the Work
Patience is key. Rushing can leave scratches or uneven spots, so move the grinder steadily and let it do the heavy lifting. Slow, consistent passes make a huge difference.
✅Use Proper Lighting to Spot Imperfections
Shadows reveal scratches and uneven areas that are easy to miss. Good lighting ensures you catch every spot and achieve a uniform shine.
✅Plan for Future Maintenance
Proper care is critical to keeping your polished floor looking great. For tips on keeping your shine long-lasting, check out our guide➡ on How to Care for Polished Concrete Floors.
Action Time: Polish Concrete Floors Like a Pro
Polishing concrete floors is easier than it looks. Any DIY enthusiast can do it with the step-by-step guide above. A project like this not only saves money but also gives you that satisfying “Yes, I did this!” feeling.
With the right tools, patience, and technique, you can achieve a professional-grade shine, transforming dull concrete into a smooth, glossy surface. So, what are you waiting for? Gather your tools and get started!

And don’t forget to drop a comment and let us know how it went. We’d love to hear about your results!

Leave a Reply