
Noticed cracks in concrete steps lately? 😬 You’re not alone. These little lines start small—but they grow fast. And when they do, they’re not just ugly…they can be dangerous too. Maybe someone tripped. Maybe rainwater’s making it worse. Or maybe you just want your home to look good again. Either way, you’re in the right place.
In this guide, we’ll show you how to fix cracks the easy way—no fancy tools or pro skills needed. You’ll learn why they happen, what tools you need, and how to repair them step-by-step. We’ll even point out common mistakes to avoid.
Whether it’s a surface crack or something deeper, you can handle it. Let’s jump in and bring those steps back to life 💪
🔎 Heads up! This post contains affiliate links. As part of the Amazon Associates Program, we may earn a commission 🛍️ (at no extra cost to you!) if you click and make a purchase. We only recommend products we truly trust. 👍
Why These Cracks Show Up
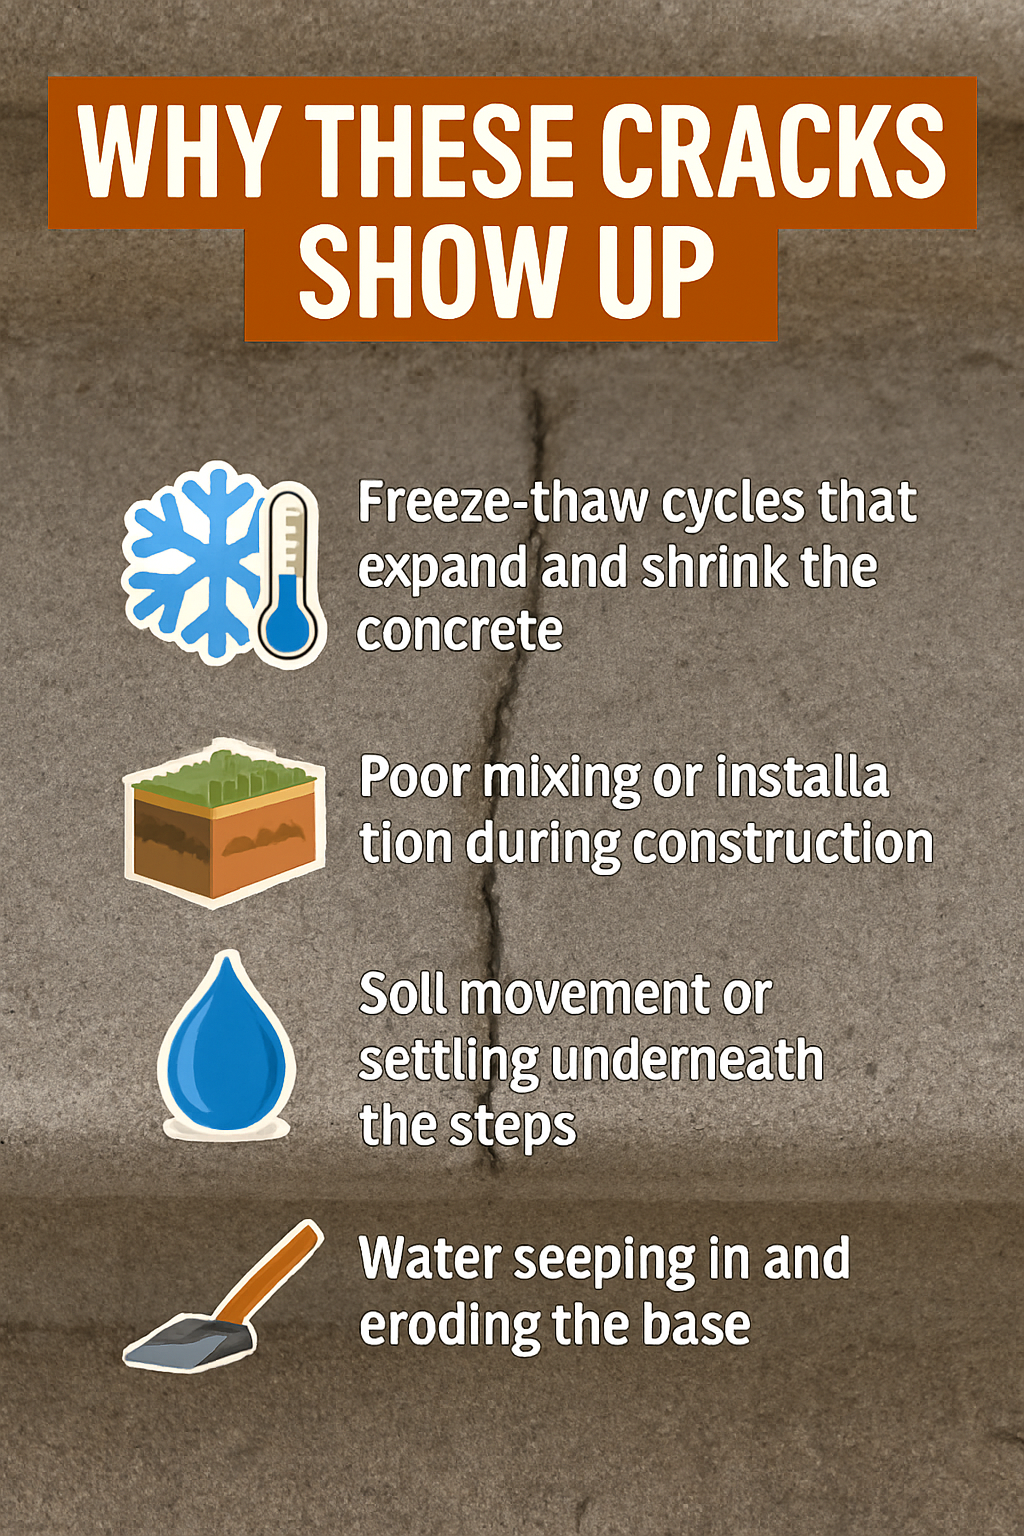
Concrete steps take a beating — from pounding feet to punishing weather. Over time, cracks in concrete steps start to appear. And once they do, it’s only a matter of time before they spread. Most cracks are caused by a few usual suspects:
☑Freeze-thaw cycles that expand and shrink the concrete
☑Poor mixing or installation during construction
✔Soil movement or settling underneath the steps
☑Water seeping in and eroding the base
One sign to watch out for? Stair step cracks in concrete block walls. These zigzag-shaped cracks often point to shifting foundations. If you notice them near your steps or porch, it could mean deeper structural stress. There are different types of cracks, too:
☑Hairline surface cracks – mostly cosmetic
✔Structural cracks – deeper, possibly dangerous
☑Vertical cracks – often caused by pressure or settling
Some cracks are just ugly. Others are signs of something serious. That’s why it’s smart to act early, before things get worse. Not sure what’s minor and what might need pro help? While we’re focused on steps here, this Angi guide on foundation cracks can help you spot bigger issues elsewhere around the home.
What You’ll Need Before You Begin
Before you patch anything, prep is key. Without the right tools — or a clean surface — your repair won’t stick. Here’s a quick checklist to gather:
☑Chisel and hammer (to widen and clean cracks)
☑Wire brush (to scrub loose debris)
✔Patching mix (cement-based or epoxy)
✔Concrete sealant (for weatherproofing)
☑Putty knife or trowel
☑Safety gear: gloves, dust mask, goggles
🧽 Don’t skip cleaning. Dust, dirt, and grease can weaken your patch. Use a trusted concrete floor cleaner to enhance the cleaning process. It makes a big difference. Your goal? A dry, solid, clean surface that’s ready to bond. Once you’ve got that, the fix becomes much easier — and it’ll actually last.
How to Fix Cracks in Concrete Steps – Step-by-Step

If you’re wondering how to fix a crack in concrete steps without calling in a pro, you absolutely can. Here’s how to do it right and make it last.
🛠 Step 1: Clean the Area
Use a wire brush to scrub off debris. Sweep or vacuum up dust. If there’s oil or grime, grab a concrete floor cleaner (like the one we recommend here). A clean surface is a must.
🔨 Step 2: Widen the Crack
With a chisel and hammer, gently chip away at the crack edges. You want a “V” shape so the patch bonds well. Vacuum the area again to remove dust.
🧴 Step 3: Apply Bonding Agent
Use a paintbrush to apply a concrete bonding adhesive inside the crack. This step helps the patch stick and last through weather and wear.
🧱 Step 4: Patch the Crack
Mix your concrete crack filler or patching compound as directed. Use a putty knife or trowel to push the mix deep into the crack. Smooth the surface level.
Need a deeper dive? See our full post on how to repair concrete cracks — it covers more tricky cases.
🧠 Pro tip: For large or deep cracks, you might need multiple layers or even a concrete epoxy.
💧 Step 5: Seal It Up
Once dry, apply a concrete sealant over the area using a clean brush or roller. This protects it from water, ice, and stains. For more on patching products and prep, check out this how-to from Bob Vila.
Done right, your steps will look better — and be safer too.
What If It’s a Large Vertical Crack?

Large vertical cracks in concrete steps are more than just ugly — they can signal deeper issues or lead to bigger damage if left untreated. So, what now?
If you’re wondering how to fix a large vertical crack in concrete steps, here’s the deal:
🚨 When You Should Pause and Assess:
☑Is the step crumbling or unstable?
✔Is the crack wider than ½ inch or runs through multiple steps?
☑Does the crack reappear after past fixes?
If you said yes to any of these, it may be best to call a concrete repair pro. Large structural cracks could mean shifting soil or foundation trouble, which DIY might not fix for good.
🛠️ DIY Is Still Possible If:
☑The steps are stable
✔The crack is vertical but not crumbling or spreading fast
☑You’re using the right repair materials
Look for patching mixes made for vertical applications — these are thicker, tackier, and bond better on upright surfaces. Brands like Quikrete and DAP make specific vertical repair formulas that resist sagging or peeling.
🧠 Pro tip: Use a bonding adhesive first, then apply a vertical crack repair compound. Finally, seal to protect from water and weather.
After Repairing Cracks in Concrete Steps: Pro Tips to Make It Last

You’ve patched the crack — now let’s make sure it actually holds up. Here’s how:
🧴 1. Don’t Skip the Sealer
Sealing is what protects the repair from water, stains, and wear. A concrete sealer locks everything in and helps the patch last through seasons of weather.
🌤️ 2. Pick the Right Weather
Dry, cool days (below 80°F) are ideal. Rain, humidity, or direct sun can mess with how the patch sets and cures.
⏳ 3. Be Patient
Wait at least 24–48 hours before walking on your steps — longer if the label says so. Rushing it weakens the repair.
Want to level up the look? Once it’s sealed and fully dry, you can stain the steps for a fresh, clean finish. It’s an easy DIY win — and we’ve got a step-by-step here: DIY concrete floor stain.
Wrap-Up: Fix It and Forget It
Cracks in concrete steps might seem small, but they don’t stay that way for long. Left alone, they spread — fast. Start small. Even repairing just one or two steps makes a big difference. And the good news? You don’t need fancy tools or pro skills.
You’ve got this. 💪
Don’t wait for damage to spread — repair and protect your steps today!


Leave a Reply