
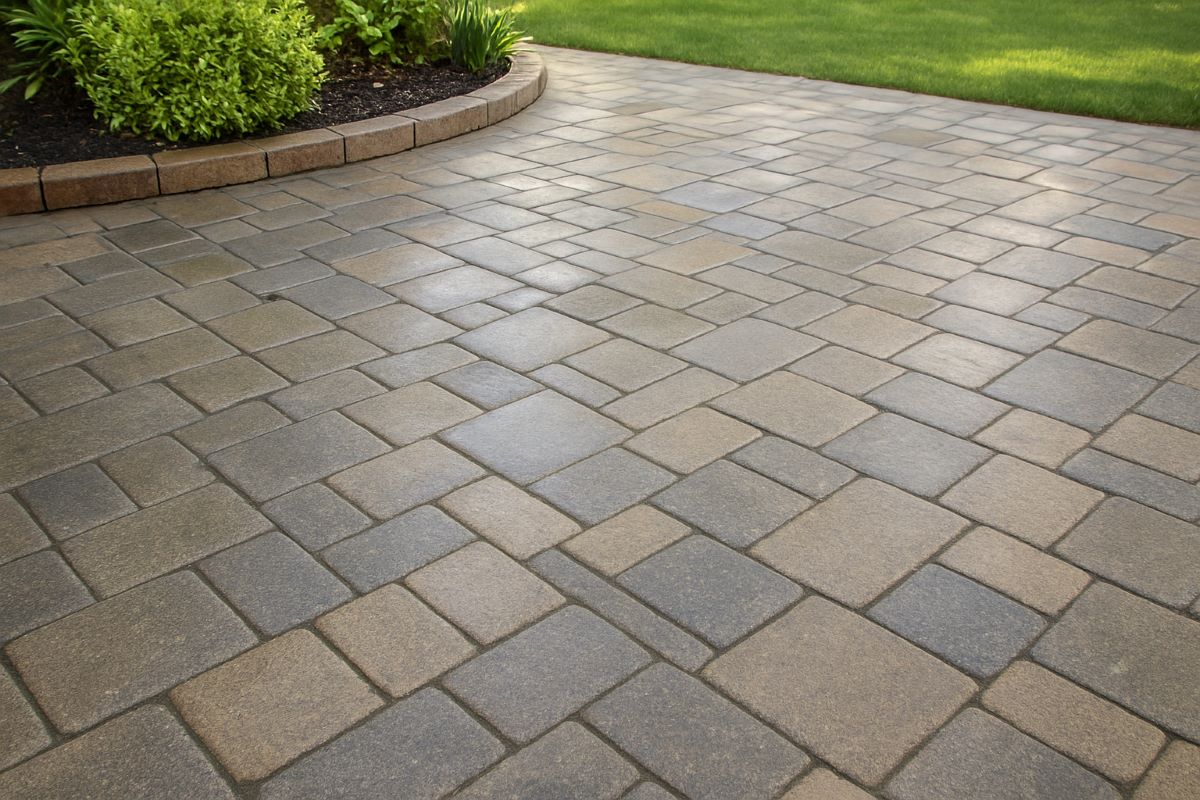
Sealing pavers keeps them looking rich, clean, and protected for years. We’ve thoroughly researched, and in this guide, we’ll show you how to seal pavers the right, easy way.
We’ll walk you through tools, how-to steps, drying times, and pro tips that help you get it right the first time. No long reading, no fluff; just a clean path to a great finish.
🔔 Heads up! Some links in this post are affiliate links. As an Amazon Associate, we may earn a small commission—at no extra cost to you!
Tools and Materials You’ll Need for Sealing Your Pavers
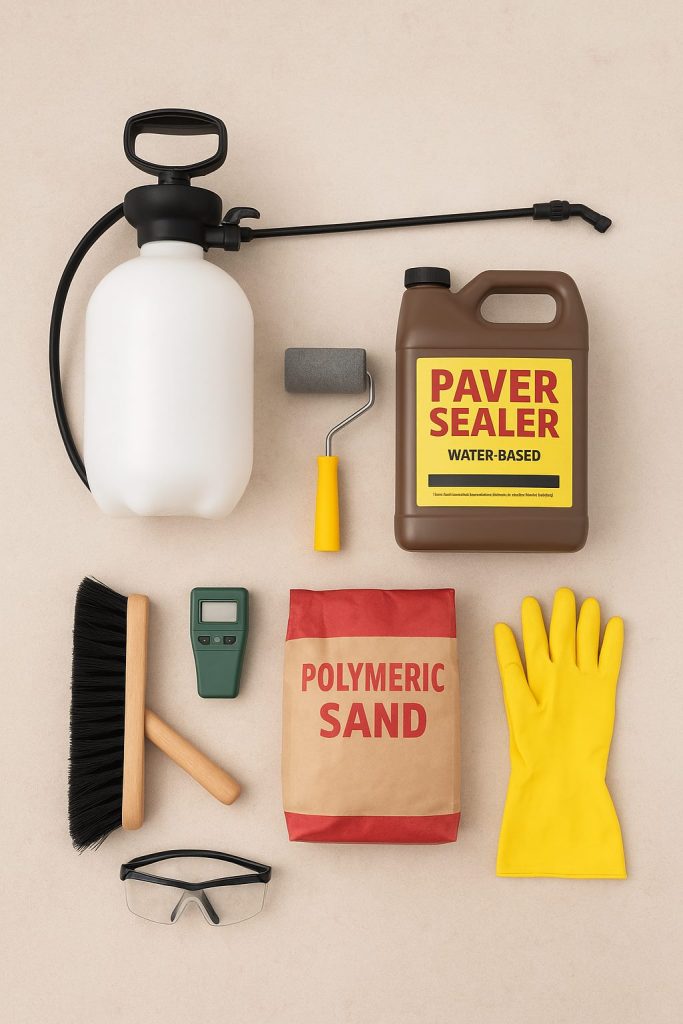
Before you begin, gather everything in one spot. That makes the job easier and keeps you moving without breaks.
✔Paver sealer — water-based for easy cleanup, solvent-based for a deeper finish
✔Pump sprayer or paint roller
☑Polymeric sand (only if the joints need topping up)
✔A broom and a leaf blower, or a stiff outdoor brush
✔Pressure washer or a strong-flowing garden hose
☑Gloves and safety glasses – to protect your hands and eyes when handling sealer, polymeric sand, or pressure-washing.
✔Moisture meter – to confirm that the pavers are fully dry before sealing.
Ready to gear up? Grab anything you’re missing on Amazon ➡
Assuming you’ve gathered your tools, let’s dive into how to seal pavers—even those with sand-filled joints. Whether it’s your patio or driveway, these steps are simple, effective, and easy to follow.
How to Seal Pavers — Step‑by‑Step
To seal pavers properly, start by cleaning thoroughly. Next, refill joints if needed, and when the weather is favorable, apply the sealer evenly and let it cure.
Let’s discuss these steps in details:
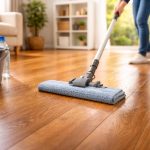
Step 1️⃣: Clean the Surface Thoroughly
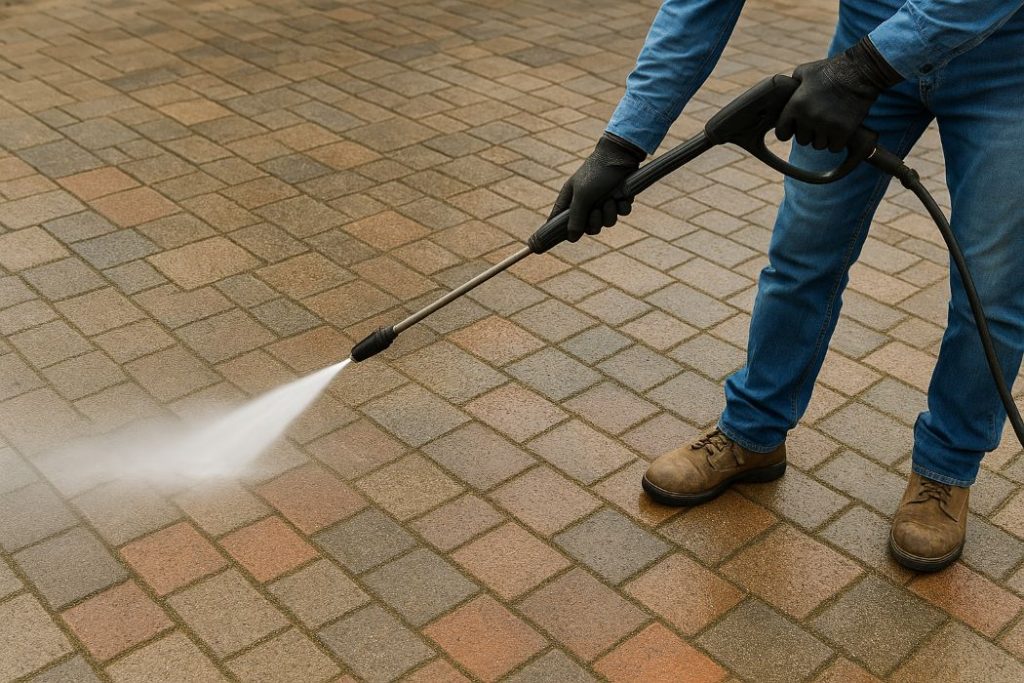
Sweep or leaf‑blow away loose debris. Then use a pressure washer➡ or strong garden‑hose spray➡ to remove dirt, grime, moss, and old residues. If there are stubborn stains or mineral deposits (efflorescence), treat them with an appropriate cleaner➡ before rinsing.
After rinsing, let the pavers dry completely. Clean‑and‑dry surfaces help the sealer bond properly to the pavers.
👉You may need to check out our previous guide on Removing moss from pavers➡
Step 2️⃣: Refill Joints (Optional)
Inspect the spaces between pavers. If the joint sand has washed out or is uneven, sweep in new sand — ideally a polymeric sand➡ for better joint stability. Make sure joints are filled just below the surface and brush off any excess sand from the face of pavers.
If using polymeric sand, follow its instructions: compact the sand, then mist (or water per directions) to activate the binding agents. Once the sand sets, wait at least 30 days (or as recommended by your polymeric‑sand maker)— this is how long to wait to seal pavers after polymeric sand — to ensure proper curing.
Step 3️⃣: Check Weather and Timing Before Sealing
Pick a dry day with mild temperature (ideally 50–90 °F / ~10–30 °C) and little chance of rain for at least 24–48 hours after sealing. Avoid sealing under hot midday sun — extreme heat can cause bubbling or uneven drying.
💡 Pro Tip: Before sealing, double-check that the pavers are fully dry using a moisture meter➡. That helps prevent trapped moisture from causing haze, streaks, or peeling after application.
Step 4️⃣: Apply the Sealer Evenly
Use your pump sprayer➡ or paint roller—a sprayer works best if the joints have sand, as it helps the sealer penetrate evenly without disturbing the sand. Begin at the farthest corner and work your way outward so you don’t walk on wet sealer. Apply a thin, even coat, overlapping slightly to avoid missed spots.
If the product recommends a second coat, wait until the first is fully dry. Many sealers allow a second coat after about 2 hours. A second thin coat often improves durability and gives a deeper wet-look shine.
Step 5️⃣: Let It Cure — Patience is Important

Once sealed, avoid walking or placing furniture on the pavers for at least 24 hours. Some sealers need up to 48–72 hours to cure fully — especially if weather or humidity slows drying.
Also, ensure no rain or sprinkler water hits the surface during this period. Moisture during curing can cloud the finish or weaken adhesion.
Tips to Keep Your Pavers Looking Great After Sealing
Now that you know how to seal pavers, it’s equally important to maintain that fresh and vibrant look for as long as possible. A few simple habits go a long way:
✅Re-Seal Every 2–5 Years
Sealers wear down over time due to foot traffic, weather, and UV exposure. Re-sealing every 2–5 years restores protection, maintains color, and preserves that wet-look shine.
For a deeper dive, check out our guide here➡
✅Prevent Moss Between Pavers
Moss not only looks messy but can also make pavers slippery. As discussed in our previous guide—preventing moss from pavers—regular sweeping and cleaning help a lot. Keeping joints dry and using polymeric sand also reduces moss growth naturally.
✅Clean Spills and Stains Quickly
Oil, food, or dirt can penetrate pavers if left too long. Blot or rinse spills as soon as possible and use paver-safe cleaners for tougher stains. Once again, regular cleaning keeps the surface vibrant and extends the life of your sealer.
✅Protect from Heavy Loads
Avoid dragging heavy furniture or sharp tools across sealed pavers. Use soft pads or lift items when possible. Protecting the surface prevents scratches, gouges, and premature wear of the sealer.
💡Pro Tip: Protect your pavers even more by using outdoor furniture pads — check options on Amazon to keep surfaces scratch-free➡
Take Action: Seal Your Pavers and Protect Your Patio
Sealing your pavers protects them, enhances color, and keeps them looking fresh for years. Start today with the right prep and tools, and enjoy a long-lasting wet-look finish.
For a live walkthrough of the sealing process, watch this helpful video by Bunnings Warehouse➡.
Also, don’t forget to drop a comment below to let us know how it went for you!
Related: Best Paver Sealers: Easy Options for DIY Homeowners

Leave a Reply