
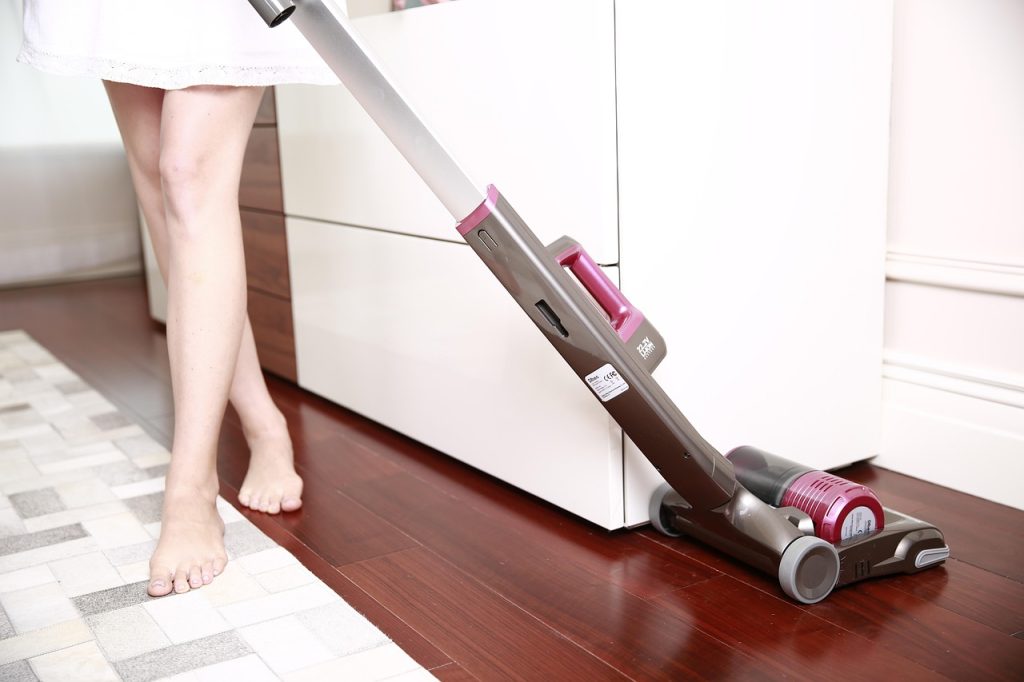
Your vacuum sounds like it’s wheezing. Your floors still look dusty. And there’s this weird smell hanging around. 😬 If this sounds familiar, it might be time for a vacuum filter replacement. A dirty filter can mess with your vacuum’s suction, leaving your home less fresh than it should be.
The good news? Replacing the filter is straightforward. In this guide, we’ll show you exactly how to swap out filters for three popular brands—Dyson, Shark, and Powerffy.
By the end, your vacuum will be able to breathe easily again. And your floors? They’ll thank you. So, let’s dive in!
💬 Heads up! This post contains affiliate links. As part of the Amazon Associates Program, we may earn a commission if you purchase through them — at no extra cost to you!
🔹 How to Replace a Vacuum Filter by Brand

As I mentioned earlier, we’re covering Dyson, Shark, and Powerffy. Each brand has its own way of doing things, but don’t worry — I’ve broken it down into simple steps for each.
Just find your vacuum below and follow the guide. You’ll be done in minutes. 👍
🔸 Dyson Vacuum Filter Replacement
Dyson offers a range of vacuum models➡, from the V7 to the V15 and beyond. Most of them follow a very similar process for filter replacement.
So, we’re confident that these steps will work just fine for your model too:
Step 1️⃣: Turn Off and Unplug Your Vacuum
If it’s cordless, ensure it’s switched off before you start.
Step 2️⃣: Remove the Old Filter
Most Dyson filters are located at the top or back of the vacuum. Twist it counterclockwise and lift it out.
Step 3️⃣: Insert the New Filter.
Pop your new filter into the same spot and twist it clockwise to lock it in place.
You’re done!
Your Dyson should now sound smoother and clean more effectively. 😊 Please remember to dispose of the old filter properly.
🎥 Need a visual? We found this video by Rustbelt Research incredibly helpful for replacing vacuum filters!
🛒 Need a new Dyson filter?
Find a compatible one here on Amazon➡.
🔸 Shark Vacuum Filter Replacement
Shark makes a variety of popular vacuums, including cordless, upright, and more. While filters may look slightly different, the replacement steps are generally similar across models.
Here’s how to replace the Shark vacuum filter quickly and easily:
Step 1️⃣: Turn Off and Unplug Your Vacuum
If it’s cordless, switch it off and remove the battery if possible.
Step 2️⃣: Locate and Remove the Filter
On most Shark vacuums, the filter is inside the dust cup or near the dustbin. Press the release button or twist the dust cup off, then pull the filter out.
Step 3️⃣: Insert the New Filter
Pop the new filter in the same spot, ensuring it fits snugly. Remember to discard the old filter safely.
Step 4️⃣: Reassemble Your Vacuum
Replace the dust cup and secure it in place.
You’re all set!
Your Shark vacuum should now suck up dirt like a champ again. 😄
🎥 Need a visual? Watch this helpful Shark vacuum filter replacement video by Discount Filters— full credit goes to the creator. We’re just sharing it because it’s super useful!
🛒 Need a new Shark filter?
Find a compatible one here on Amazon➡.
🔸 Powerffy Cordless Vacuum Filter Replacement
Powerfyy cordless vacuums are gaining popularity due to their lightweight design and strong suction. If you’re here, it’s probably time for a Powerffy cordless vacuum filter replacement to keep things running smoothly.
Here’s the 🛠️ step-by-step guide:
Step 1️⃣: Turn Off and Unplug Your Vacuum
Ensure the vacuum is turned off before you begin.
Step 2️⃣: Remove the Dustbin
Most Powerfyy models have a detachable dustbin. Press the release button and pull it off.
Step 3️⃣: Take Out the Filter
The filter usually sits inside or near the dustbin. Pull it out carefully.
Step 4️⃣: Insert the New Filter
Place your new filter in the same spot, ensuring it fits snugly.
Step 5️⃣: Reattach the Dustbin
Click the dustbin back into place.
All set!
Your Powerffy vacuum should now breathe more easily and clean more effectively. 😊
🛒 Need a new Powerffy filter?
Find a compatible one here on Amazon➡.
🔹 How Often Should You Replace Your Vacuum Filter?

It depends on the brand, how often you vacuum, and the kind of mess you’re dealing with.
But here’s a general rule of thumb:
👉 Replace your vacuum filter every 3 to 6 months.
That said, some vacuums can go longer, while others need more frequent attention. Here’s a quick breakdown:
✅ Dyson: Replace every 6 months
(Wondering how often to replace the Dyson vacuum filter? — Now you know.)
✅ Shark: Replace every 3 to 6 months, depending on usage
(If you’ve been asking “how often to replace a shark filter,” this is your answer.)
✅ Powerffy: Check the manual — but every 3 to 6 months is a safe bet
💡 Pro tip:
If your vacuum starts smelling unusual, feels too hot, or loses suction, your filter may be overdue for replacement.
🔹 Bonus Tips to Keep Your Vacuum Performing Like New

Replacing the filter is just one piece of the puzzle. To get the most out of your vacuum (and keep it working like a champ), here’s a simple maintenance checklist:
✅ Vacuum Maintenance Checklist
✔Clean or replace the filter regularly
(Now you know how — no excuses 😉)
✔Empty the dustbin after every use
Don’t wait until it’s overflowing.
✔Check for clogs in the hose or brush head
Hair, crumbs, and mystery fuzz love hiding here.
✔Clean the brush roll
A tangled brush roll = poor performance.
🔹 Breathe New Life into Your Vacuum, Replace the Filter Like a Pro!
A fresh filter can make a big difference. ✨
Better suction, cleaner air, and a vacuum that feels brand new — all from a quick swap. Now you know exactly how to replace your filter, whether you have a Dyson, Shark, or Powerffy.
It’s simple. It’s satisfying. And it keeps your vacuum running like a pro. So don’t wait for your vacuum to wheeze and struggle. Show it some love today. 😊
Your floors (and your nose) will thank you.
🧹 Thinking about an upgrade too? Don’t miss our guide to the best cordless vacuum for pet hair on hardwood floors➡— it might just be your vacuum’s new best friend.
💬 Have you replaced your filter yet?
Let us know how it went in the comments. We’d love to hear about your experience.

Leave a Reply