
Vinyl floors are everywhere. According to Imarc Group, North America hit 335 million m² of vinyl flooring in 2024. That’s huge. And yes, scratches happen all the time. But here’s the good news: vinyl plank scratch repair is simple—and often done in minutes.
You don’t need complicated tools. You only need to apply a few clever tricks. We’ve researched what really works so you don’t have to. In the sections below, you’ll find clear steps to guide you. No fluff. Just friendly, easy-to-follow advice. Ready to wipe out those scratches and keep your floor looking great? Let’s go!
Heads up! 🚨 Some links in this post are affiliate links. As part of the Amazon Associates Program, we earn from qualifying purchases — at no extra cost to you! 💰
What Causes Vinyl Plank Scratches in the First Place?
Vinyl plank scratches can be annoying—and avoidable. Let’s break it down clearly.
🔍 Common Causes of Scratches
👉Dirt and grit under shoes act like tiny sandpaper. With pressure, they leave fine scratches.
✔Pet claws — especially from dogs — can make both surface and deeper marks.
👉Furniture legs or dragged heavy items (especially metal feet) often gouge into the plank surface.
🧩 Surface Scratches vs. Deep Gouges
✔Surface scratches capture only the thin wear layer—the clear coating on top. They often look light or white. These can often be buffed out.
✔Deep gouges go past the wear layer into the printed design or even the core. These may need fillers or plank replacement.
🛡️ What Affects Scratch Resistance?
Wear layer thickness matters:
✔12 mil cover provides basic protection in low-traffic zones
👌20 mil is best for busy areas or homes with pets
✔30+ mil is ideal for commercial use or heavy wear
Material quality varies. Scratch resistance improves with coatings such as polyurethane or ceramic beads, as well as additives like aluminum oxide. A thicker wear layer alone doesn’t guarantee durability.
✅ Quick Takeaway
Vinyl floors hold up well—but they’re not bulletproof. Tiny debris, claws, and heavy furniture are the primary causes of scratches. Some damage stays on top (surface), and some cuts deep into the plank. And among vinyls, quality varies. In the next section, you’ll learn how to fix each kind correctly.
Vinyl Plank Scratch Repair—Here’s What Works Best ✅
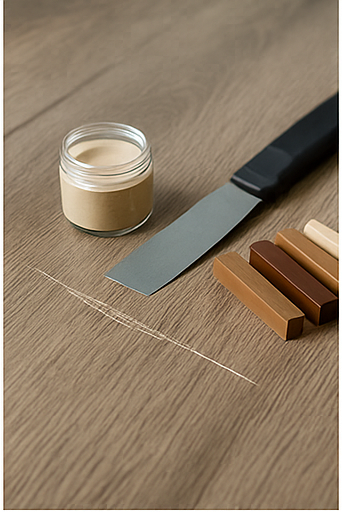
When it comes to vinyl plank scratch repair, the method depends on the depth of the scratch. Let’s walk through what works—and why. But first—what will you need? Most repairs use simple tools:
✔Vinyl plank cleaner
✔Microfiber cloth
✅Scratch repair pen
✅Wax or putty repair kit
✔Small putty knife,
✔Soft buffing towel
For deeper fixes, a heated wax stick and melter tool might be required. The good news? These are all easy to find online or at your local hardware store.
️⃣ Surface Scuffs
If it’s a light scuff on the surface, you’re in luck. These shallow marks sit on the wear layer and don’t cut into the plank. Start by cleaning the area using a soft cloth and a vinyl plank cleaner. Then, gently buff it with a microfiber towel. Some homeowners even use a white pencil eraser. If the finish looks dull, a dab of floor polish—made for vinyl—can bring back the shine. According to Flooring Clarity, this simple fix works well for most minor surface scuffs.
️⃣ Medium Scratches
For medium scratches—those deeper than a scuff but not all the way through—the repair requires a bit more attention. A scratch repair pen is a great option here. Many come in wood tones to match your floor, and they’re easy to apply. Just color in the scratch, let it dry, and lightly buff the area. For deeper marks, a wax repair kit does the trick. These kits include soft filler wax and a putty knife to blend it in. Homeowners on Home Depot say it’s “quick, easy, and nearly invisible.
️⃣ Deep Gouges
Now, if you’ve got a deep gouge, the kind that cuts through the printed layer or exposes the core, it’s time to level up. A heated wax filler stick works best. These come with melting tools and color blends to match most plank shades. You fill the scratch, smooth it out, and once dry, buff the area clean. If the damage is still visible—or if the plank is badly cracked—replacement may be your best option. Luckily, most vinyl planks are click-lock and easy to swap out without tearing up the whole floor.
Real users say these fixes can restore floors in minutes. On Reddit, one user wrote, “Used a wax kit on a deep scratch… now you can’t even tell.” However, many people say the hardest part is choosing the right shade. The bottom line? From scuffs to gouges, there’s a solution that works—and most won’t take more than a few minutes to apply.
Best Tools and Kits for Quick DIY Scratch Fixes
For reliable vinyl plank floor scratch repair, you’ll need both pro-grade kits and basic items you likely already have. Here’s what stands out:
First, a top-rated repair kit on Amazon is the Vinyl Floor Repair Kit with Heat Pen (11-color). With over 300 reviews averaging 4.0★, buyers say it’s easy to use and “works amazing on laminate floors.” The heat pen melts colored wax sticks that fill dents and scratches, and most users report they’re nearly invisible afterward
Another strong contender is the CalFlor VinylFix Repair Kit, a consistent best-seller. Reviewers praise its wax-and-solvent-free formula. Users love its exact color matching and call it “durable” and “easy to mix.” It’s a go-to for many vinyl plank owners.
Alongside these kits, keep simple tools on hand:
✔A putty knife (or small scraper) to level fills
✅A microfiber cloth for cleaning and buffing
✔Rubber gloves to keep things tidy
These household tools help you apply and finish repairs cleanly. For added confidence, check this helpful repair guide from a vinyl flooring manufacturer. It explains how to prep, apply, and even replace planks if a scratch runs too deep.
With these Amazon favorites and everyday tools ready, you’ll be fully equipped. Specialized kits handle color and texture, and simple tools ensure a smooth repair. Up next: how to prevent scratches in the first place.
Avoiding Scratches—What Flooring Experts Recommend
Want fewer scratches? Start with these smart habits.
Use felt pads under furniture legs. No pads = pressure points. One sharp drag can leave a scar. Keep outdoor shoes at the door. Dirt, sand, and tiny pebbles stuck under soles act like sandpaper. And that’s bad news for vinyl. 😬
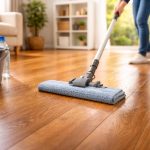
Also, clean your floors often—but gently. Regular sweeping or vacuuming removes gritty dirt before it grinds in. When mopping, use the best cleaner for vinyl floors. Harsh stuff can dull or weaken the surface.
Not sure where to start? We broke it down in this guide: How to Clean Luxury Vinyl Plank Flooring 🧼.
Flooring pros like Shaw and Mannington also recommend these simple steps. They say it’s the best way to keep your floor looking new—scratch-free and shiny. A little care goes a long way. Your planks will thank you! 🙌
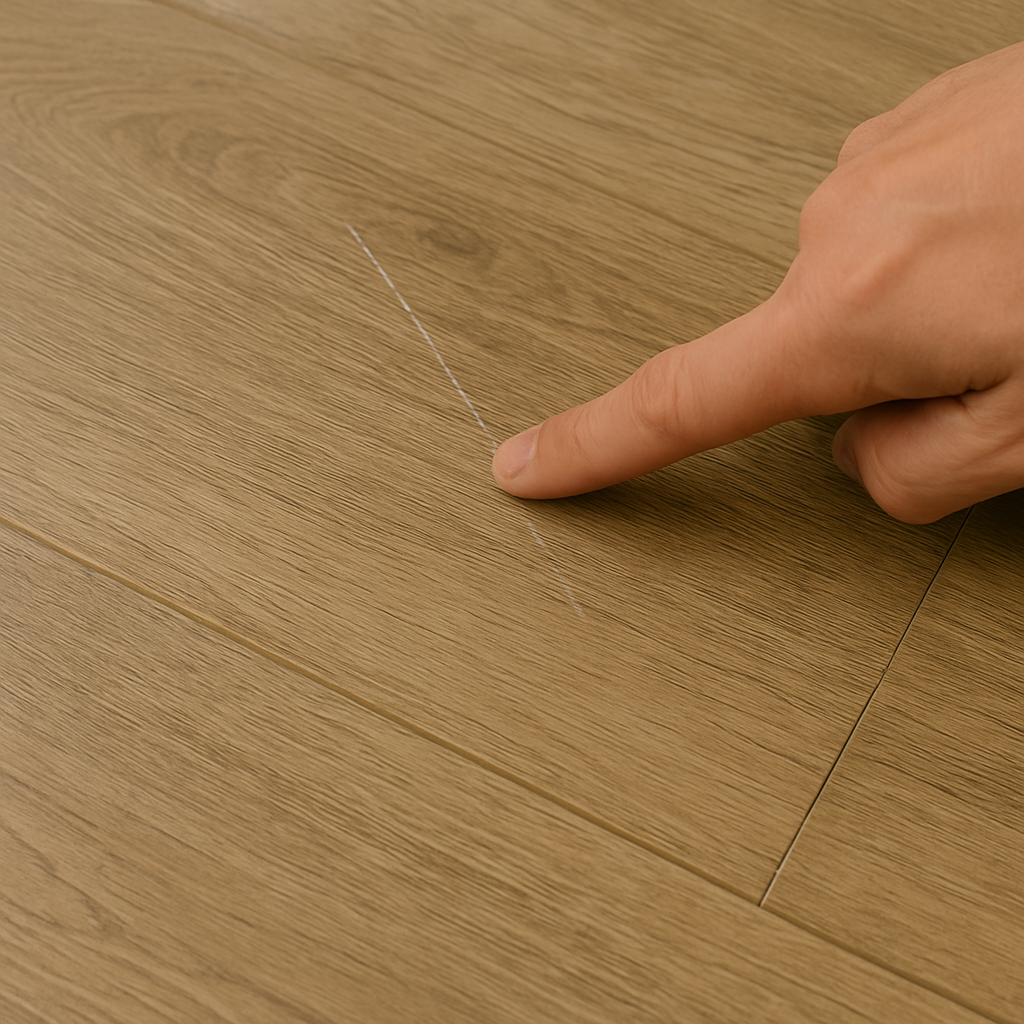
When to Repair and When to Replace the Plank
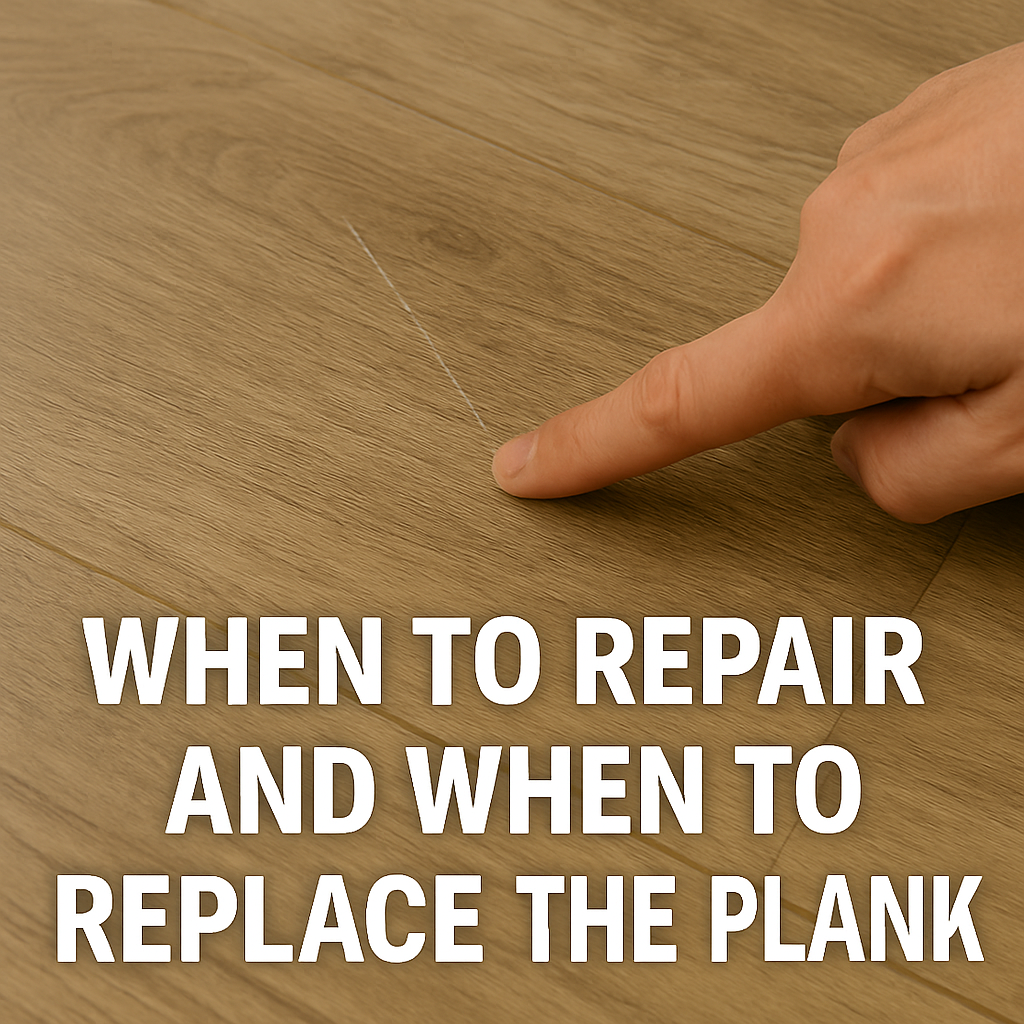
Sometimes a scratch is too deep for vinyl plank scratch repair. You may notice crushed edges or an exposed core. In these cases, repair kits won’t hide the damage.
Refer to your manufacturer’s warranty or repair FAQ for additional information. For example, Pergo’s vinyl guide states that deep floor damage may be covered only by replacing the plank—not by refinishing the existing board. Additionally, Shaw’s warranty recommends board replacement for gouges that compromise integrity of the locking mechanism.
✔Here’s how to decide:
✔A surface or medium scratch? Repair it.
A cut through the design layer, or board misalignment from damage? Replace it. Planks with a click‑lock system make this easier. You can pop out the damaged plank and slide in a matching one. The process takes minutes — no room tear‑out required.
In short: repair when possible. But when a scratch is too severe, plank replacement is the smarter, longer-lasting fix. And that helps protect your whole floor for years.
Wrap-Up: Fix It, Love It, Keep It Scratch-Free
Good news—most vinyl plank floor scratch repairs are easy to do! 🙌 No need to panic or pull up your floor. Just clean it right, use the right kit, and protect it going forward. Surface scuffs? Gone in minutes. Deeper gouge? Still fixable—or pop in a new plank. It’s all about the proper steps at the right time. Clean. Repair. Protect. That’s your win-win-win 🏆
Got a tip that worked for you? Drop it in the comments—we’re all here to learn from each other! 👇 And hey, don’t forget to share this with someone battling floor scratches! 🧼✨

Leave a Reply